Integrate with Nutanix Storage
Nutanix Objects in Kubeflow Pipeline
You can use standard s3 boto api to upload and download objects from a Kubeflow Pipeline. See Nutanix Objects Docs for more details on creating object store and buckets.
import boto3

bucket_name="ml-pipeline-storage"
object_name="models"
object_store_access_key_id="<key_id>"
object_store_secret_access_key="<access_key>"
host="http://<Nutanix Objects Store Domain Name>"
region_name='us-west-1'
s3_client = boto3.client(
                 's3',
                 endpoint_url=host,
                 aws_access_key_id=object_store_access_key_id,
                 aws_secret_access_key=object_store_secret_access_key,
                 region_name=region_name,
                 verify=False)
response = s3_client.upload_file(f'./test_upload_data.txt', bucket_name, object_name)
Nutanix Volumes in Kubeflow Pipeline
Nutanix volumes are created with the default storage class configured in the Karbon cluster. See Default Storage Class of Nutanix Karbon for more details about creating storage classes.
vop = dsl.VolumeOp(
   name="Create a volume to share data between stages on Nutanix Volumes",
   resource_name="data-volume",
   size="1Gi",
   modes=dsl.VOLUME_MODE_RWO)
Nutanix Files in Kubeflow Pipeline
Create a storage class to dynamically provision Nutanix File shares. See Files Storage Class of Nutanix Karbon for more details on creating storage classes for dynamic NFS Share provisioning with Nutanix Files.
Once storage class is setup, you can use VolumeOp operation to create volume on Nutanix Files.
vop = dsl.VolumeOp(
   name="Create a volume to share data between stages on Nutanix Files",
   resource_name="data-volume",
   size="1Gi",
   modes=dsl.VOLUME_MODE_RWM,
   storage_class="files-sc")
Using Nutanix Objects as an artifact store
In order to use Nutanix Objects as an underlying artifact store, we need to edit the workflow-controller-configmap ConfigMap in the kubeflow namespace. See Nutanix Objects Docs for more details on creating object store and buckets.
kubectl -n kubeflow edit configmap workflow-controller-configmap
In the ConfigMap, we need to modify the s3 config with the Nutanix Objects config:
- endpoint: This is endpoint for Nutanix Objects store
- bucket: This is the name of the Objects store bucket
- accessKeySecret: reference to the access key ID in kubernetes secret for Objects store
- secretKeySecret: reference to the secret access key in kubernetes secret for Objects store
    s3:
      endpoint: "x.x.x.x"
      bucket: "ml-pipeline-storage"
      keyFormat: "artifacts/{{workflow.name}}/{{pod.name}}"
      # insecure will disable TLS. Primarily used for minio installs not configured with TLS
      insecure: true
      accessKeySecret:
        name: mlpipeline-ntnx-objects-artifact
        key: object_store_access_key_id
      secretKeySecret:
        name: mlpipeline-ntnx-objects-artifact
        key: object_store_secret_access_key
We also need to create the secret that is being referenced in the ConfigMap above
apiVersion: v1
kind: Secret
metadata:
  name: mlpipeline-ntnx-objects-artifact
stringData:
  object_store_access_key_id: <ACCESS_KEY_ID>
  object_store_secret_access_key: <SECRET_ACCESS_KEY>
  region: us-east-1
After creating the secret we need to deploy the secret in the user namespace.
kubectl -n kubeflow-user-example-com apply -f mlpipeline-ntnx-objects-artifact-secret.yaml
Note: installing this secret in kubeflow namespace does not work, it has be in present in user’s namespace
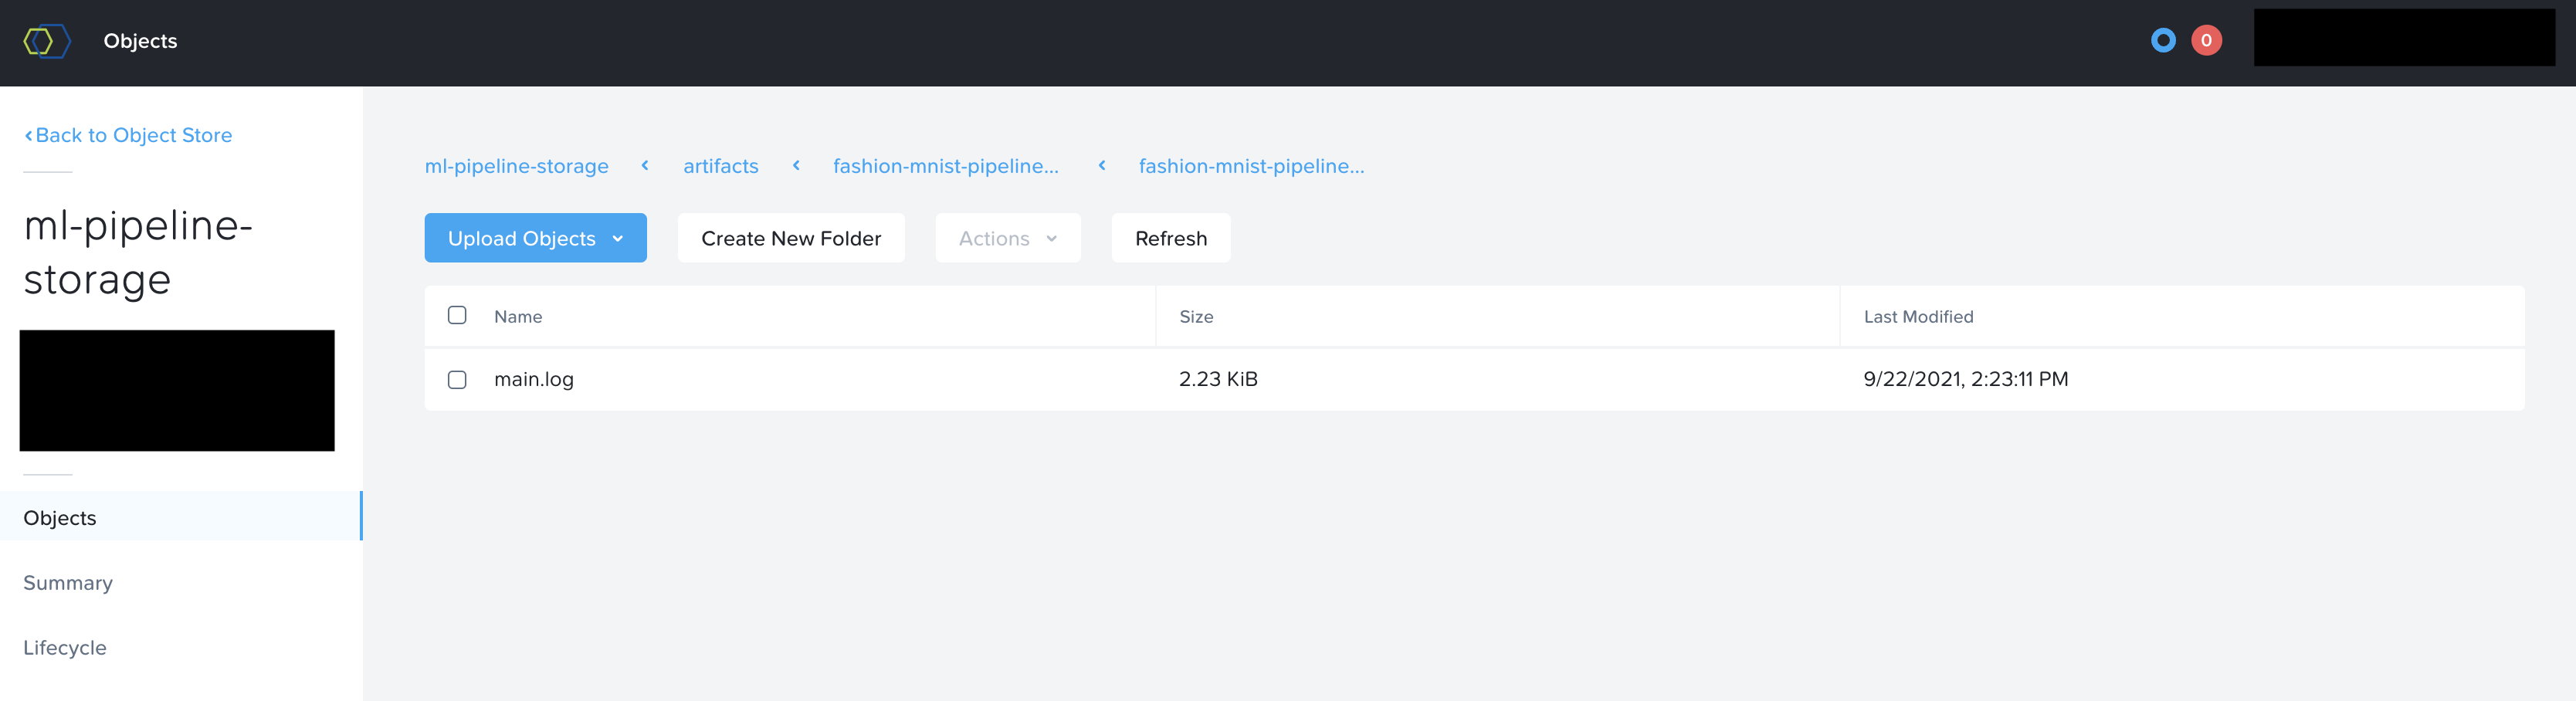
To verify this is working correctly, you can check Nutanix Objects browser to see if your artifacts are created and show up inside your buckets.
Feedback
Was this page helpful?
Glad to hear it! Please tell us how we can improve.
Sorry to hear that. Please tell us how we can improve.